
We wanted to buy the multimeter as we are doing tutorials, projects, and experiments in the Embedded, Electronics field. So we bought the multimeter locally which came around 100 Rupees. We thought that would be good enough for us. Then after a few months of use, it wasn’t working as expected. Then we wanted to buy another multimeter. Now, we have decided to buy a good one. We don’t want to replace it again. So, we bought the Kaiweets KM601 Smart Digital Multimeter costs ₹3500/$45. In this article, we are going to review this product. Use the coupon code ETX to get a discount.
Table of Contents
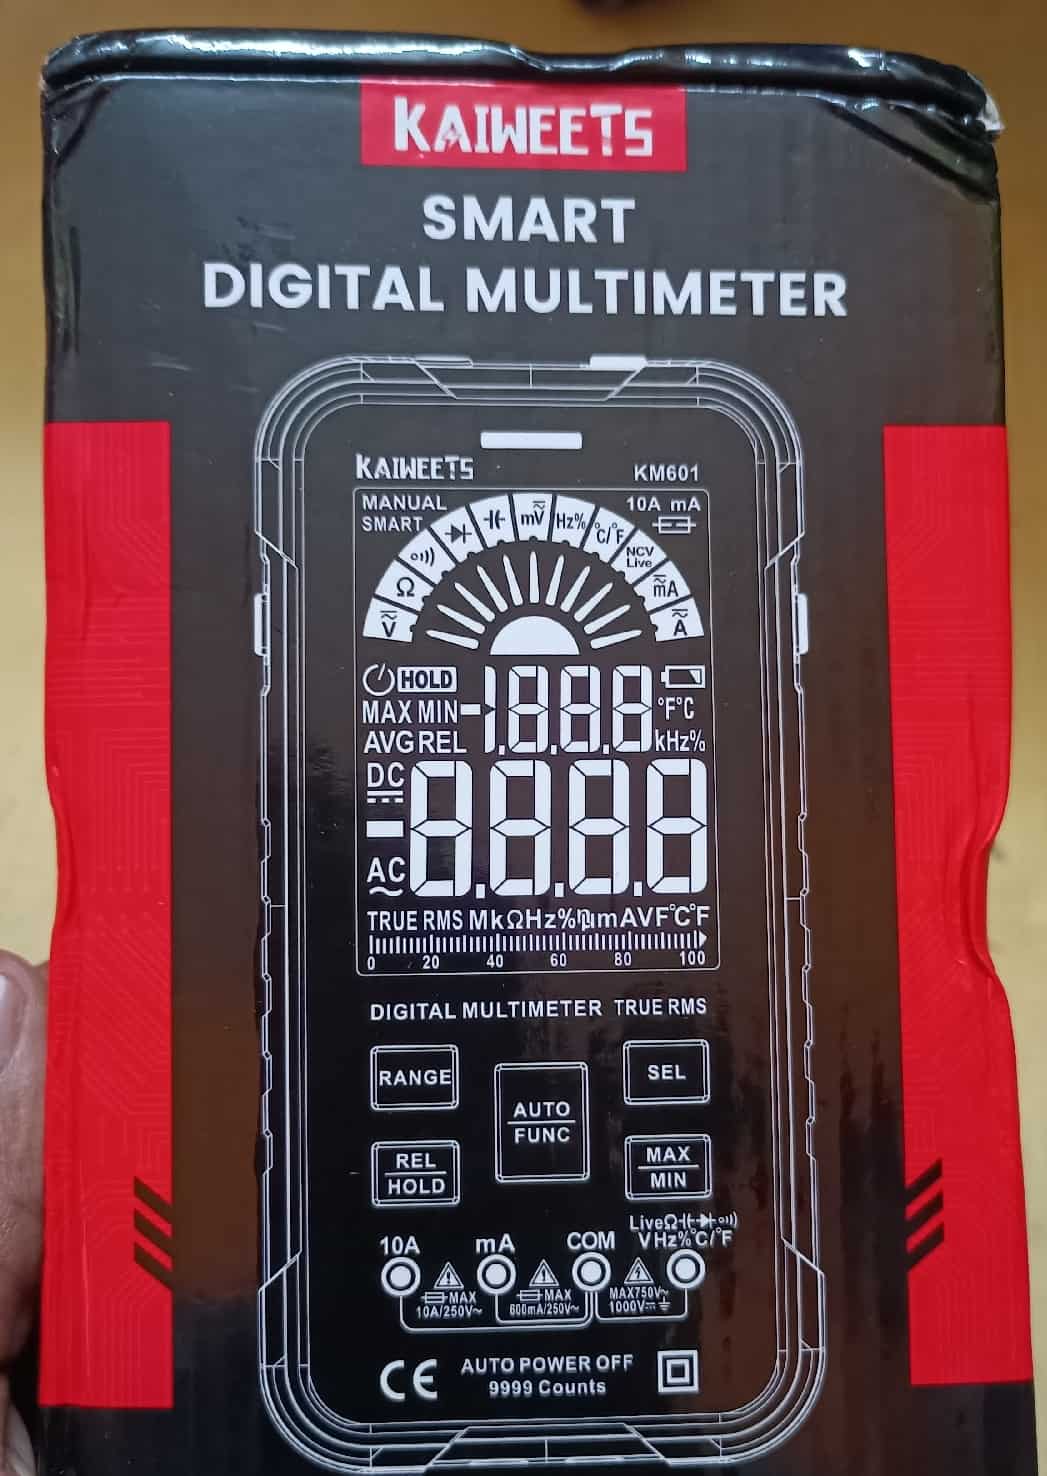
Kaiweets KM601 Smart Digital Multimeter Review
Before we start this we will see a few details about the multimeter.
What is a multimeter?
A multimeter is an electronic tool or instrument that is used to measure the voltage, amps, and resistance across circuits. And also we can test the continuity in the wires or circuits. We can perform this operation by connecting the two leads to different parts of the circuits. Every electronic and electrical technician and engineer widely uses a multimeter. So, one meter is used to test the multiple parameters. New digital multimeters have advanced to the point that they can measure extremely tiny differences or fluctuations.
There are many brands available in the market that manufactures multimeter like Kaiweets, Fluke, Brymen, Amprobe, Klein Tool, Keysight, etc. We wanted to try the Smart digital multimeter. After some research, we decided to go with the Kaiweets KM601.
Kaiweets KM601 Specification
| Item Weight: | .49 kg |
| Dimensions: | 7.95 x 4.37 x 2.13 inches |
| Screen and Performance | 2 Colours LCD screen, True RMS |
| Batteries: | 6 AAA batteries |
| Ranging Type: | Auto-ranging |
| Uses: |
|
| Multimeter Specs: |
|
| Safety Certifications: | IEC-61010-1 CATⅢ 1000V, CAT IV 600V, double insulation |
What is Smart Multimeter?
We already knew about the Multimeter. But what is Smart Multimeter? Nowadays, there many smart multimeters are available. A smart multimeter is a new generation multimeter that helps us to measure electronic circuits, electronic components, and electronic devices very easily. This Smart multimeter has the intelligence change mode automatically. That’s why it is called as a smart digital multimeter.
|
|
|
Let us consider this example. We are using the Digital multimeter. If we want to measure the DC voltage, we have to change the mode to DC voltage measurement. When we want to check continuity, we need to again change the mode to continuity. So, we have to change the mode manually. In the case of a smart digital multimeter, we did not have to select the mode manually in the multimeter. Our job is to enable the AUTO mode. Once you enable this mode, it measures whatever you want. We just need to connect the two leads to the required place in the circuit. It does not matter, you connect the multimeter probe to the DC/AC Voltage, Resistance, Diode, Frequency, etc. It will automatically detect the mode and show the value on the LCD display.
We can call this KM601 Digital multimeter as a smart meter. Because this multimeter has this feature.
Unboxing the Kaiweets KM601
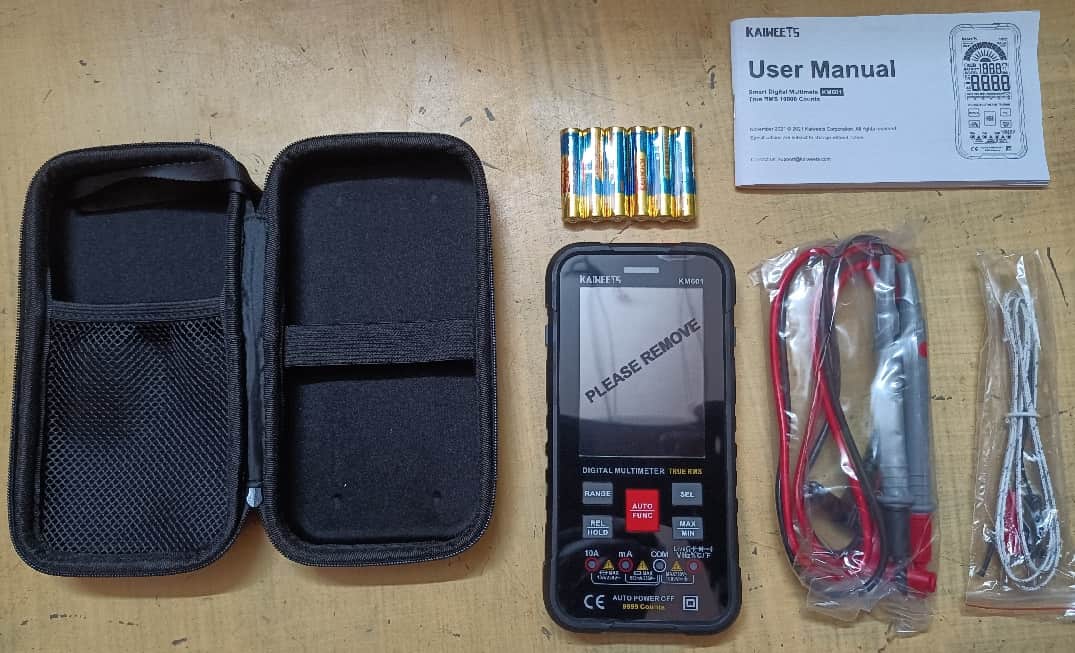
We really impressed by the packing method. The initial impression was good. The KM601 package contains the below items.
- Basic probes
- K-type thermocouple
- A carrying case/pouch
- 6 AAA batteries. But it only needs 3 batteries. So, we can keep the other set as a backup.
- True RMS KM601 Smart Digital Multimeter
- Back case for the multimeter. It is like the rugged back cover which we use for mobile phones.
- A user manual
 |
 |
 |
 |
It doesn’t feel like a multimeter. We felt we are having a rugged gaming mobile phone in our hand.
How to use the KM601 Multimeter?
Unlike the other multimeter, it has only a button instead of the selecting knob. or dial.
|
|
|
We have 5 buttons under the Display.
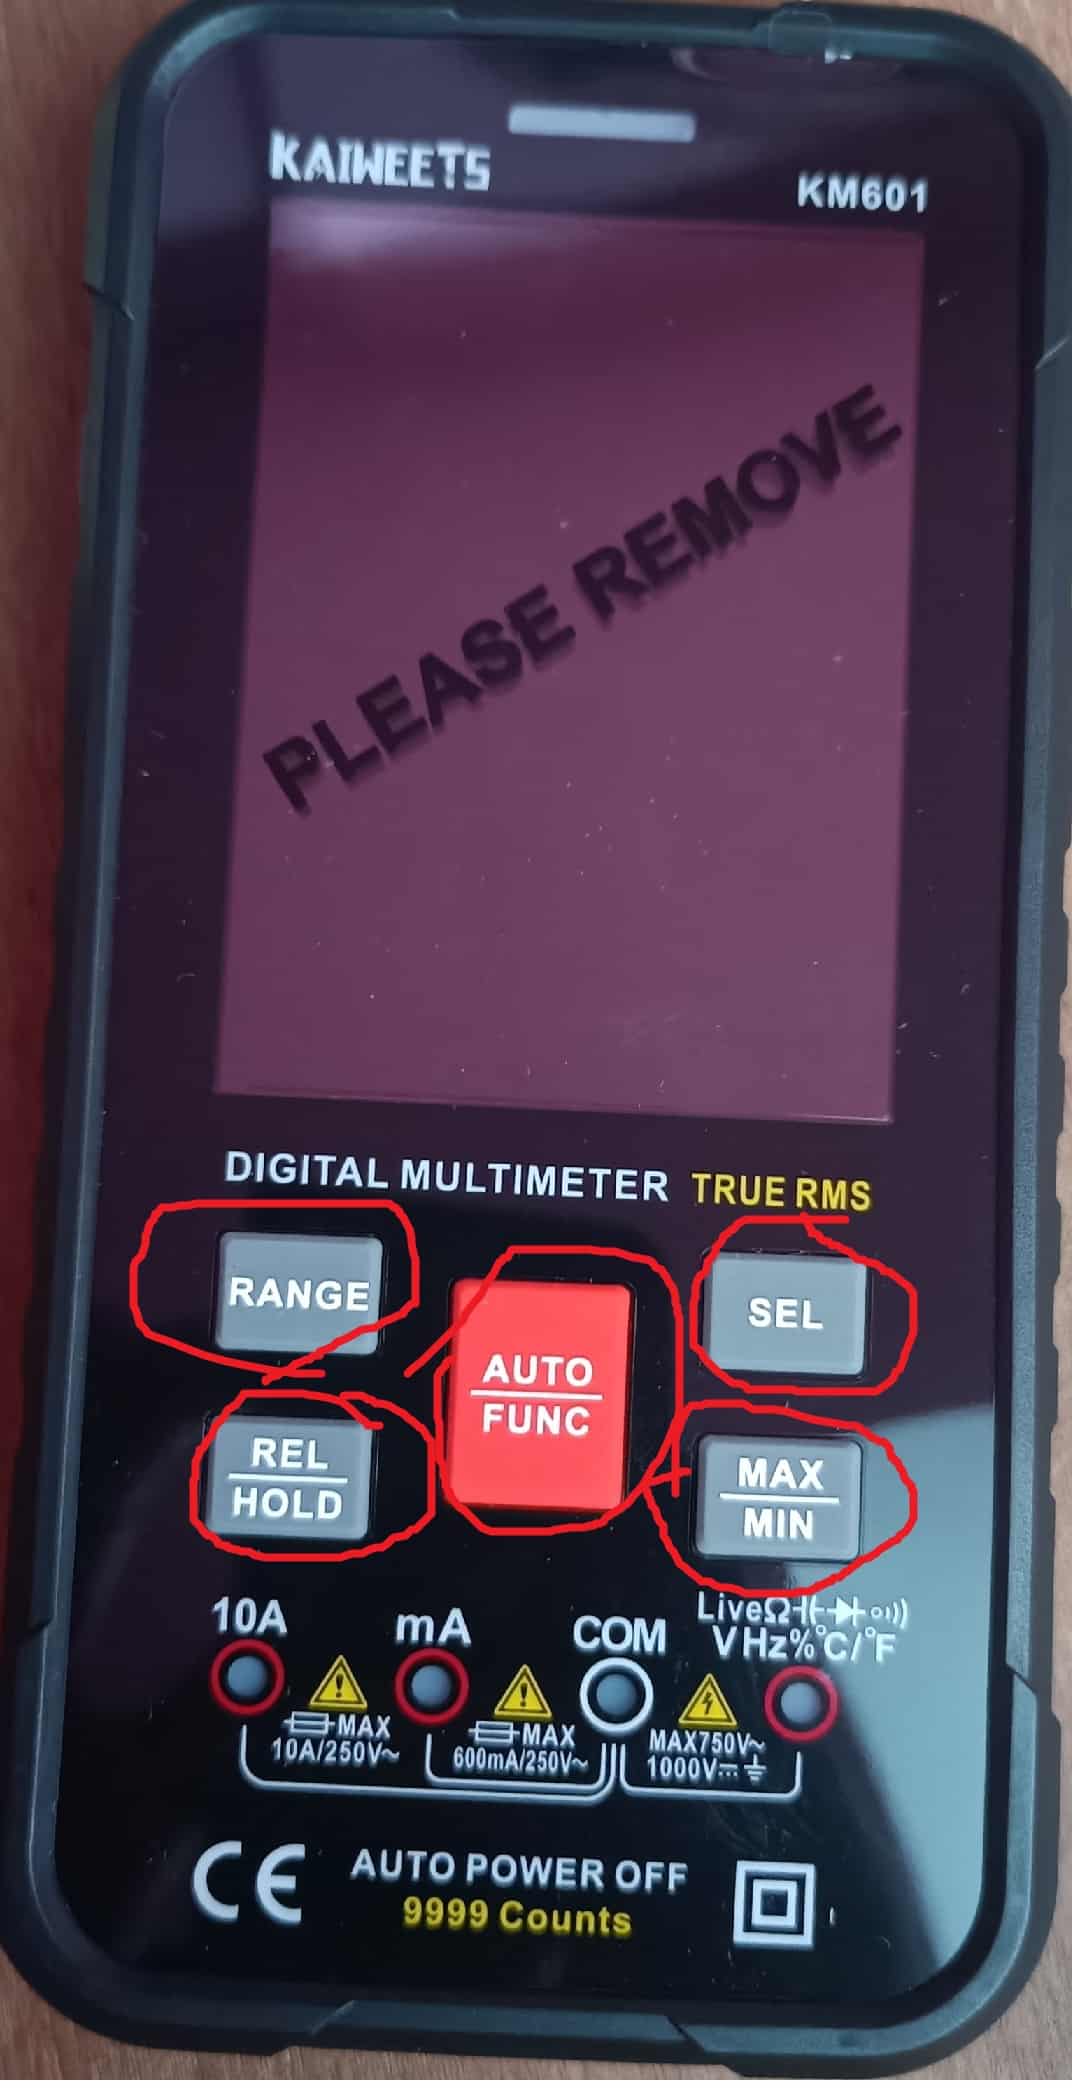
- AUTO/FUNC Button (Red Colour center button) – Used to enable the auto mode or select the mode manually.
- RANGE Button (Black color Left top corner button) – Using this we can set the ranges for the measurements.
- REL/HOLD Button (Black color Left bottom corner button) – This is used to hold the current value and release the held value.
- SEL Button (Black color Right top corner button) – Using this we can select the functionalities.
- MAX/MIN Button (Black color Right bottom corner button) – Using this button, we can get a Minimum and maximum value.
We have one Button and one NCV on the top.

- NCV (Black color Left top) – Used to detect the Non-contact voltage.
- Power Button (Red color Right top Button) – Used to turn ON/OFF the multimeter.
We have one button on the Left and Right sides.
|
|
|
 |
 |
- APO Button (Right side button) – Used to enable/disable the Automatic Power Off option. If we enable this option, then the meter shuts down automatically after 15 minutes of no usage.
- Torch Button (Left side button) – Used to turn ON/OFF the torchlight.
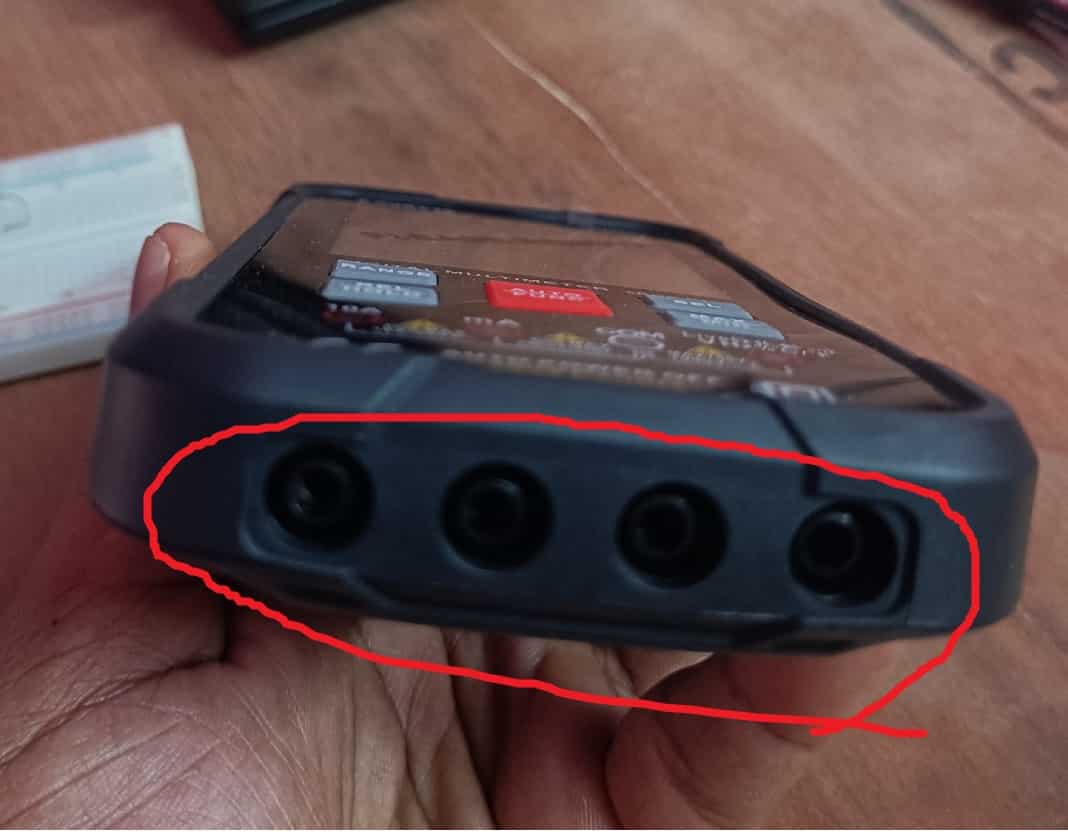
On the bottom side, we have four ports for plugging the probes.
Bring up the KM601 Multimeter
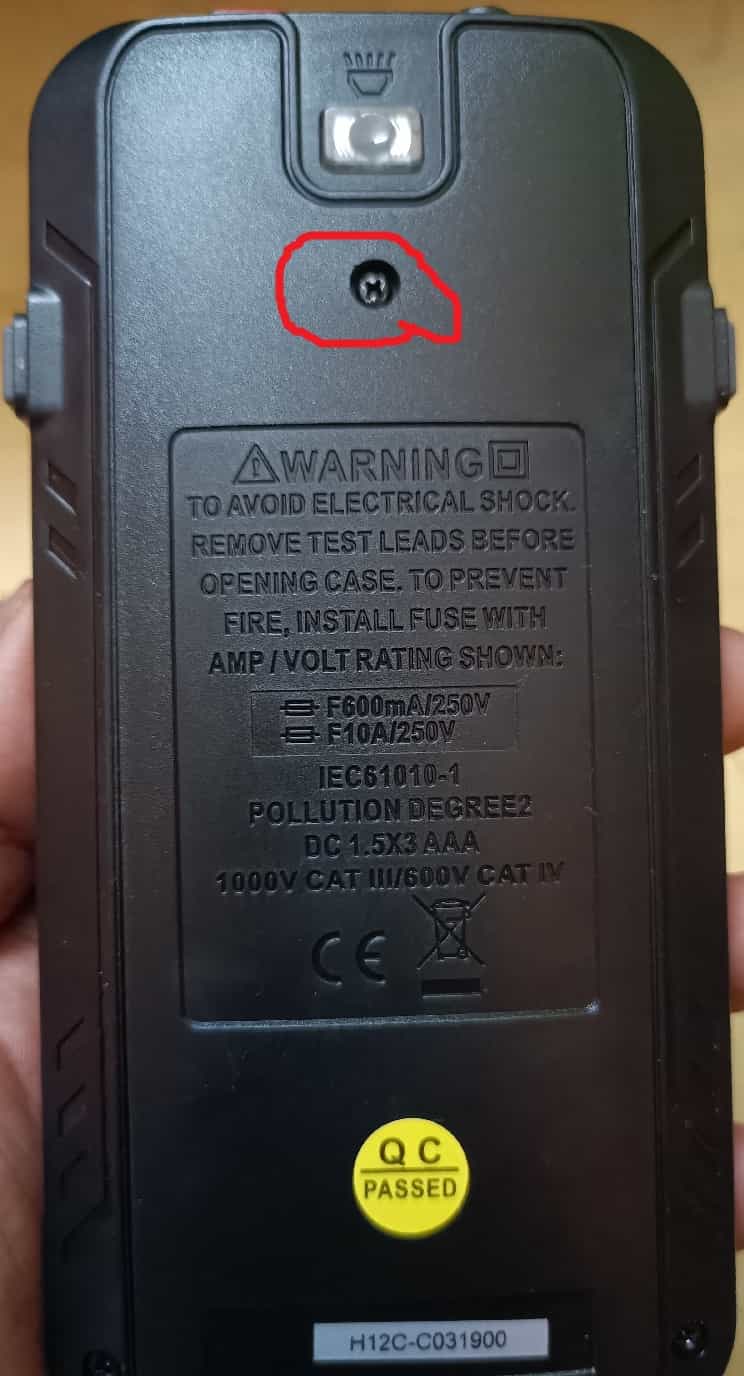
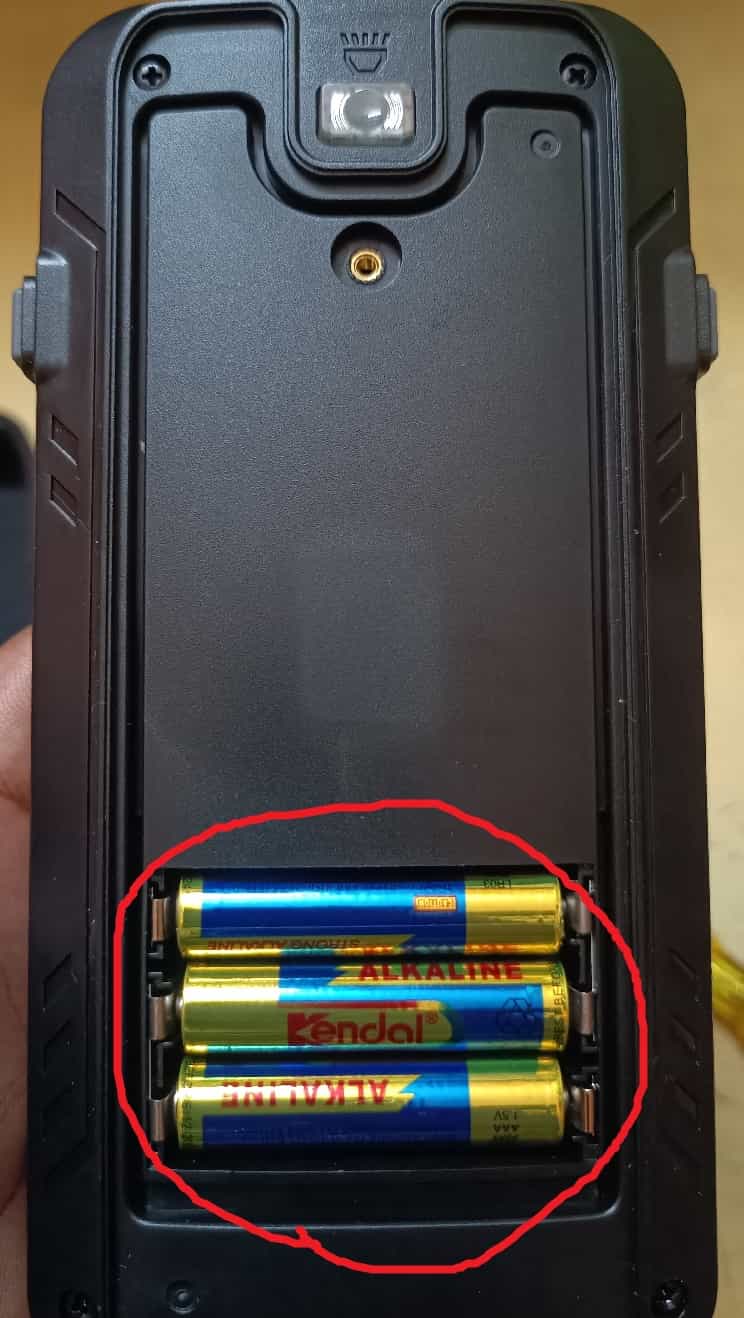
We don’t even need to strain a bit. Everything is pretty straightforward. Remove the rugged back cover. Then using the screwdriver, we can remove the back battery cover. Once you removed both, then check the polarity and insert the 3 AAA batteries properly. Close the covers and hold the power button which is present at the top. Here you go. The Smart multimeter is ON. The LCD display quality is very good.
 |
 |
Testing KM601 Multimeter
In the smart mode, the meter can automatically detect AC Voltage, DC Voltage, Resistance, and Continuity. First, we will test that. Put the Smart Multimeter in AUTO mode.
Connect the probes to the test points in the electronic circuit or AC/DC power supply. The meter automatically selects the appropriate function and displays the measured value on the LCD screen. We tested with AC, DC voltage, resistors, and continuity. Yes, this multimeter is really Smart and correctly detects, and displayed the result on the LCD screen.
|
|
|
Note – This Smart feature is not working if we apply small resistance. Let’s say when the resistance is less than 50Ω, the meter checks for continuity, and the buzzer keeps making sounds. But the resistance value also being shown in the LCD display. So, we can say it is working partially but no harm to us. If you select manual mode, we can avoid this.
We have other functions also that are available in the other multimeters as well. So, you have knowledge about that already. The special feature of this multimeter is NVC (Non-Contact Voltage), Live voltage detection, Frequency, and duty cycle measurement. This KM601 multimeter can measure frequencies up to 10MHz. It will display the frequency of the AC voltage as well. Also, it has a thermocouple inside this.
Thermocouple
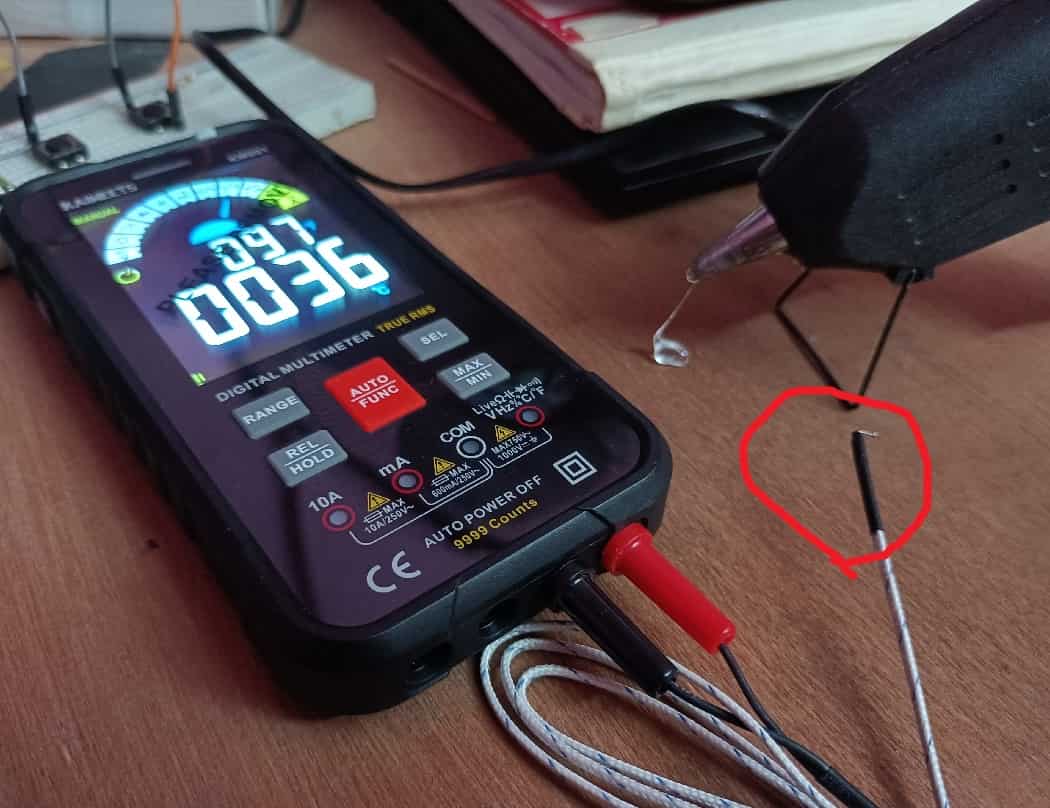
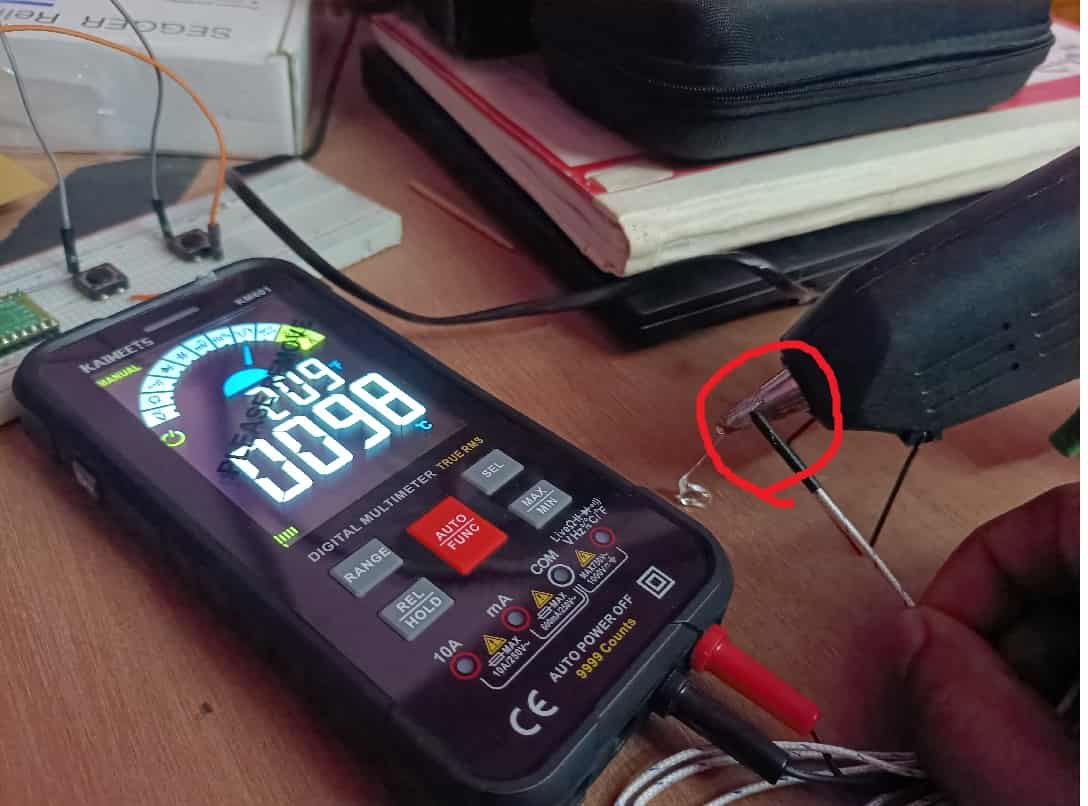
Insert the thermocouple into the ports. Using this thermocouple, we can check the temperature of the object. If the thermocouple is not attached to any object, it will measure the ambient temperature. Refer to the below images. It is displaying the ambient temperature if the thermocouple is not touched anywhere. Then we touch the thermocouple to the Glue gun. So, the temperature was increasing. This is a cool feature. Isn’t it?
 |
 |
Final Verdict
We come to the end. Yes, we liked this product. It is worth it for us. As they have a mobile-like design, the stand is not part of this meter. That is the only thing that bothers us. Unlike other multimeters, it has a torch light. We are sure, it will help us in many situations. The performance of the KM601 Smart Digital Multimeter is good and also the LCD display is simply awesome. The rugged back cover is strong and sturdy. And also this multimeter is handy with the pouch. So, we can take it anywhere like a mobile phone. Do we recommend this multimeter? Big yes. We are recommending everyone to buy this multimeter and you won’t regret it like us.
You can directly buy it from Kaiweets website KM601 Smart Digital Multimeter. Use the coupon code ETX15 to get 15% discount.
|
|
|
You can also read the below tutorials.
Embedded Software | Firmware | Linux Devic Deriver | RTOS
Hi, I am a tech blogger and an Embedded Engineer. I am always eager to learn and explore tech-related concepts. And also, I wanted to share my knowledge with everyone in a more straightforward way with easy practical examples. I strongly believe that learning by doing is more powerful than just learning by reading. I love to do experiments. If you want to help or support me on my journey, consider sharing my articles, or Buy me a Coffee! Thank you for reading my blog! Happy learning!
